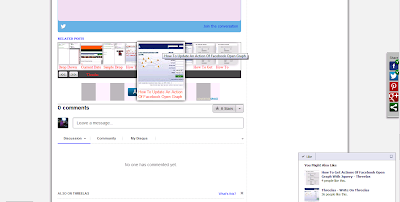
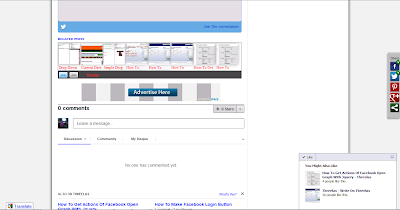
Related topics are not new in the world of blogs. Especially users of blogger. Basically, blogger does not provide widgets for related topics. So, widget for related topics created by third parties. It is also common in threelas.com, if you use a related post slideshow (and thank you for using it), you will have a list of related topics in a slideshow. This widget is very light, and more interactive than similar tutorial.
Without realizing it, the widget of related topics from threelas.com is one of the most widely used by bloggers. However, the widget still has a lot of drawbacks, namely a limited number of related topics, a maximum of only 10 posts. Then, the image is too small to be seen. Therefore, we developed the newest version. This version is very interesting, can load more than 10 posts indefinitely. You can use the << or >> to select one of the posts. When you hover a picture of the relevant topic, then the image will expand to be doubled along with the title of the post.
We apply jquery asynchronous. In previous versions, we do not implement asynchronous. Thus, this version of the widget can be loaded very quickly. Basically, we apply blogger API. You can learn the secrets of a webmaster to create a widget for users of blogger via blogger API.
As always, this widget is free. Anyone can use it, but it should not change the javascript code and remove links to threelas.com. This is our original work.
Ok, let's practice. Go to your blogger dashboard, then click Templates. Click Edit HTML button, then click the Proceed button. Then, click the Expand Widget Templates. After that, look for the code <data:post.body/>. Place the following code after the code <data:post.body/>.
<b:if cond='data:blog.pageType == "item"'>
<b:loop values='data:post.labels' var='label'>
<b:if cond='data:label.isLast == "true"'>
<h2 style='margin-top:28px;'>Related Posts</h2>
<script src='http://plugin-codes.googlecode.com/files/threelasrelatedposts-v-2.js'/>
<script type='text/javascript'>
var widthplugin = 532;
var feedUri = "<data:blog.homepageUrl/>feeds/posts/default/-/<data:label.name/>?alt=json-in-script&max-results=9&callback=?";
</script>
<div id='result'/>
</b:if>
</b:loop>
</b:if>
IDon't forget to adjust width of this widget with your post, you can do via widthplugin variable, example: widthplugin = 500. Choose how many posts will retrieve with change value of max-results, example: max-results=20. After that, put the following css code below
#tl-related{
list-style:none;
margin:0;
padding:0;
font-size:13px;
font-family:Times New Roman;
position:absolute;
left:0;
top:0;
}
#tl-related li{
width:72px;
padding:2px;
float:left;
}
#tl-related li .image{
width:72px;
height:72px;
padding-bottom:2px;
}
#tl-related li .title{
width:72px;
height:16px;
overflow:hidden;
}
#expand{
width:152px;
display:none;
position:absolute;
top:0;
left:0;
box-shadow:0 0 13px #565755;
padding:5px;background:white;z-index:500;
}
#result{
position:relative;
}
#result img {
border-radius: 0px 0px 0px 0px;
border: medium none;
box-shadow: 0px 0px 20px rgba(0, 0, 0, 0.2);
padding: 0px;
}
Make sure you have the latest jquery on your blog. If not, you can put the following code before the </head>
| <script src='http://ajax.googleapis.com/ajax/libs/jquery/1.4.2/jquery.min.js' type='text/javascript'></script> |
or
| <script src='http://code.jquery.com/jquery-latest.js'></script> |
When all was done, then save. And go to your blog again, look at the sensation of the beauty of this widget.


Post a Comment